DESCRIPTION
If your dealership purchased a new Vehicle Communication Interface (VCI) device or you would like to convert your existing VCI for using with wiTECH 2.0 System, you need to download and install the VCI Setup Utility to configure/setup your VCI for wiTECH 2.0.
IMPORTANT : You will need to have users associated to the VCI in Technical Service Portal before running the VCI Setup Utility. Please allow 1 hour for the users to sync and then run the VCI Setup Utility. For steps to associate service technicians follow the link below.
For a video version of setting up a VCI for witech Micropod 2, please watch Video – How-to Setup a new device for wiTECH 2.0
NOTE: microPODs with a serial number beginning with “WFP” should NOT be used with this utility.
PROCEDURE
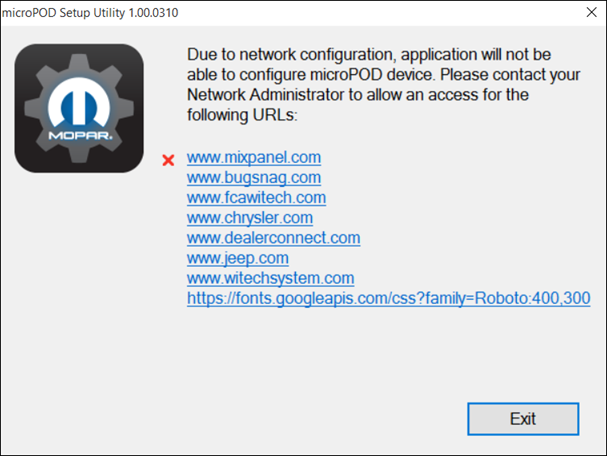
If you have a restricted network, you must first make sure that all sites listed below are enabled to be able to successfully use VCI Setup Utility and the wiTECH 2.0 System.
mixpanel.com
bugsnag.com
fcawitech.com
chrysler.com
dealerconnect.com
jeep.com
witechsystem.com
https://fonts.googleapis.com/css?family=Roboto:400,300
Note: Please disable any Anti-Virus software and Firewall that you have on your computer in order to allow the VCI Setup Utility to install and run properly.
Steps to download and install the VCI Setup Utility
IMPORTANT: Once the VCI is configured using the VCI Setup Utility, all the VCI’s Wireless Settings will be deleted. You will be required to follow the instructions from the KB link titled Configure Wi-Fi on a VCI
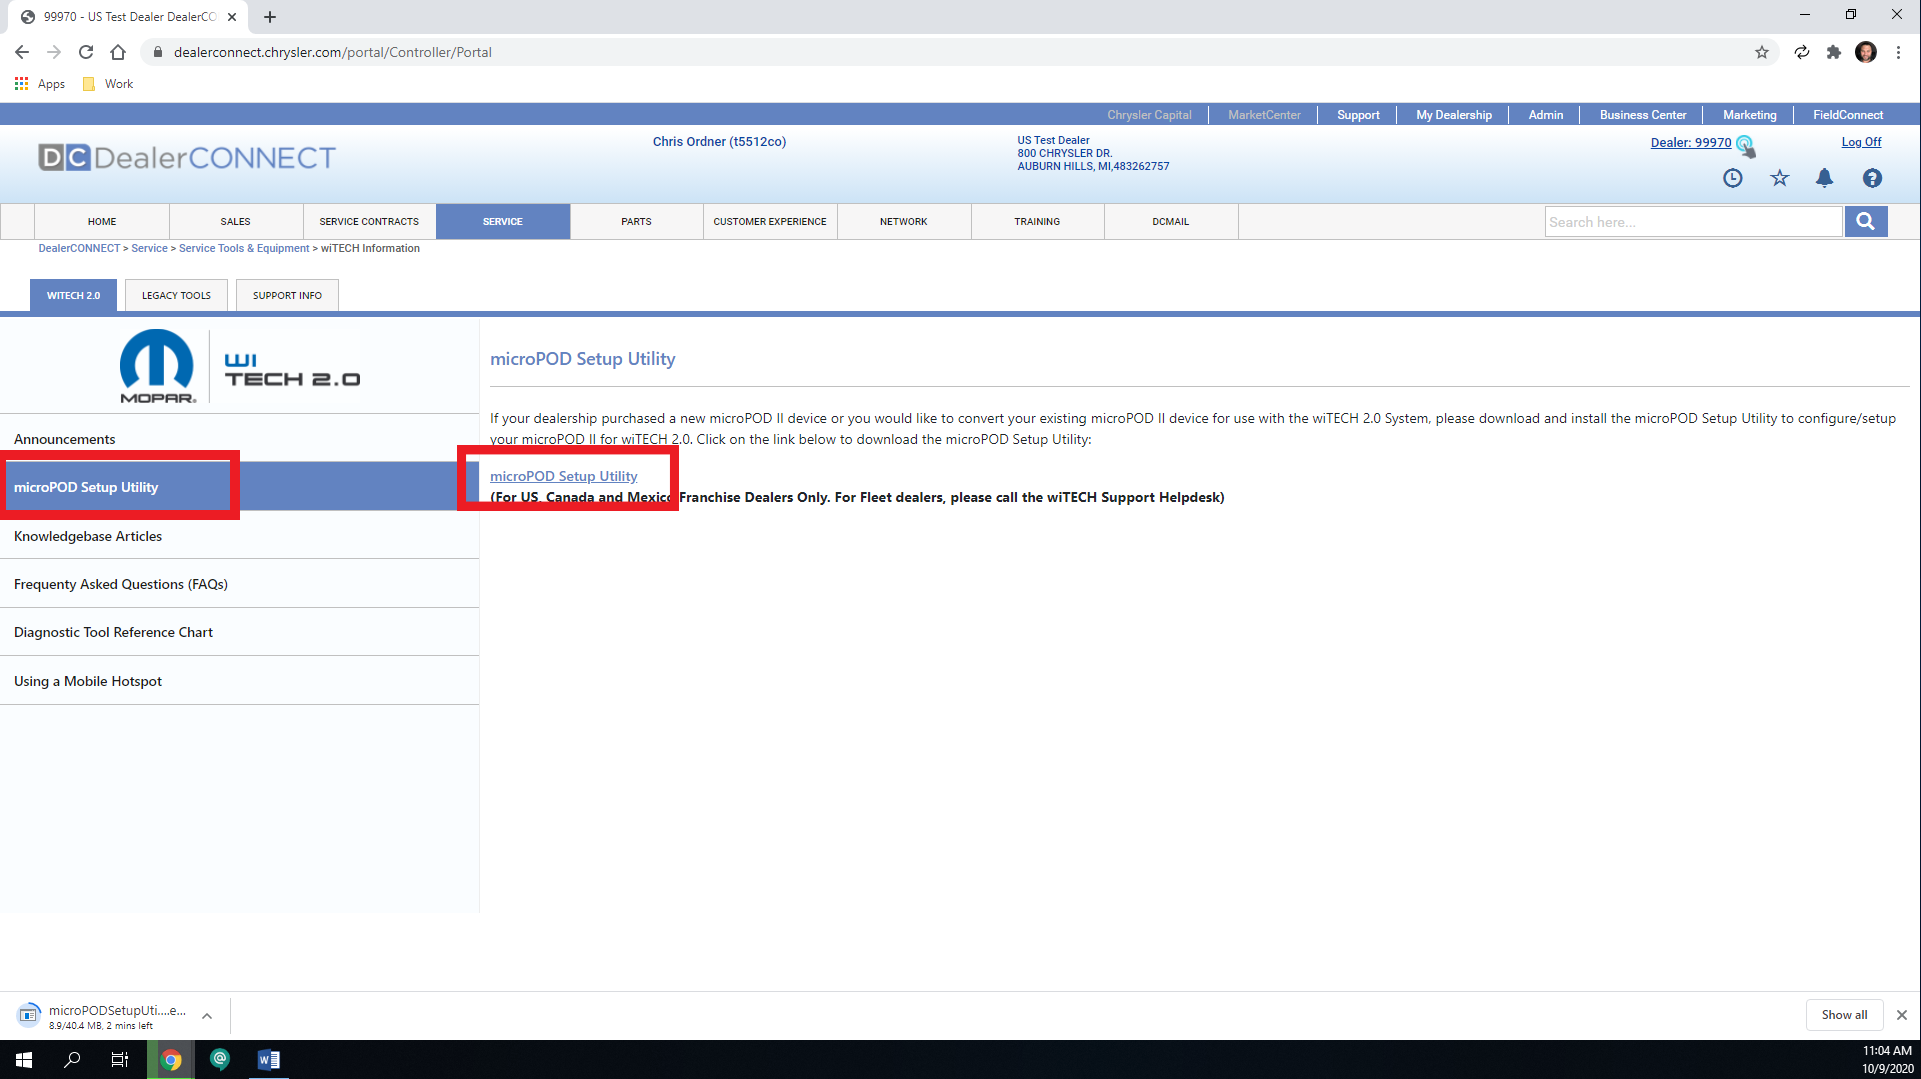
To download the application, please login to DealerCONNECT > Service > wiTECH Information > VCI Setup Utility
Step 1
Begin the downloading process of VCI Setup Utility.
Step 2
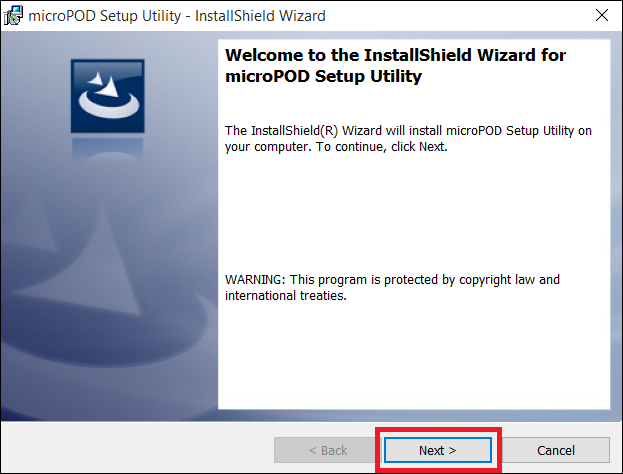
The install wizard will appear and install the wiTECH Driver x64 onto your computer if wiTECH 1 is not installed on your PC.
If the PC has been installed with wiTECH 1.0 App, you will not see the screen below and proceed to Step 6 . Otherwise, click “Next” to proceed.

Step 3
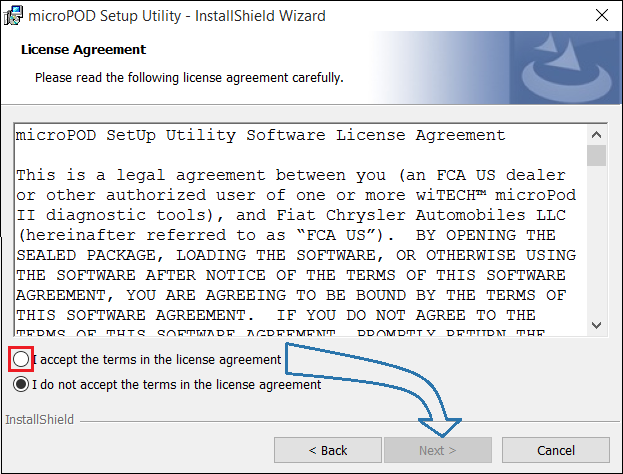
Read the License Agreement carefully, and accept the terms in the license agreement. Then, click “Next” to continue.
Step 4
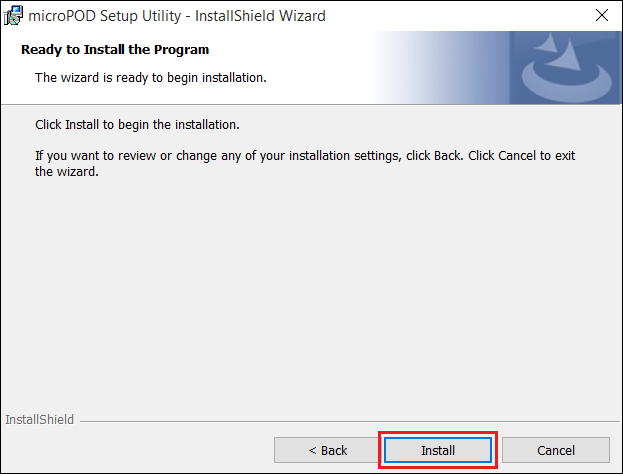
You are now ready to start the actual installation of the driver. You now need to click on “Install” for it to start.
Step 5
This will now install the wiTECH Driver x64. Once complete, the program will automatically proceed to the next step.
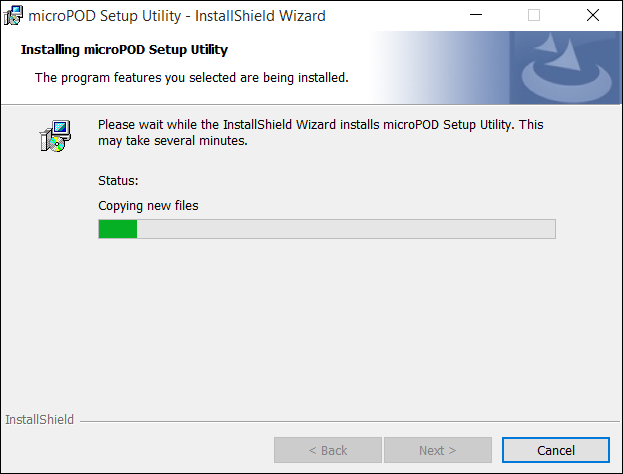
Step 6
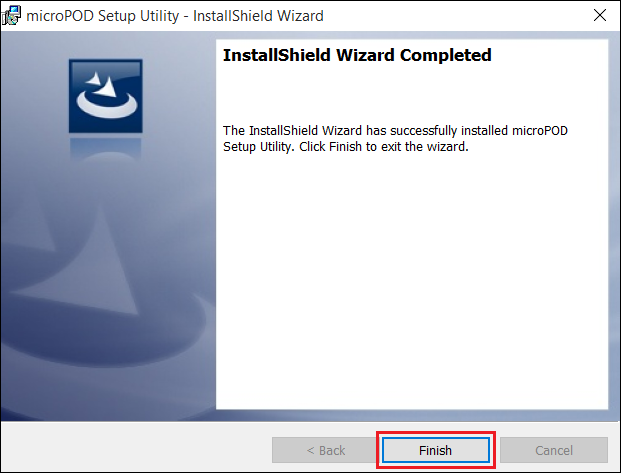
Once the installation has completed, click “Finish”. Proceed to the following section, “Using the VCI Setup Utility”.
Using the VCI Setup Utility
NOTE: Please make sure that your computer is connected to the internet and the VCI is connected to the computer via USB before starting this process. This application will help you configure your VCI for ar Diagnostic Tool wiTECH 2.0.
Step 1
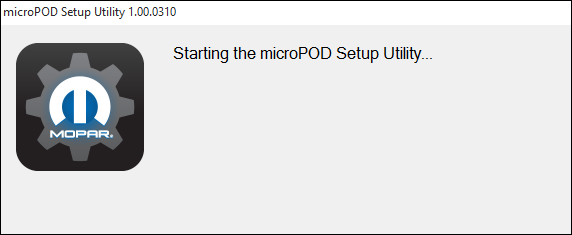
Start VCI Setup Utility by clicking the icon on the desktop:
![]()
If the VCI Setup Utility that is installed is out of date, you will be forced to update to the newer version of the application.
Step 2
Please make sure your VCI is connected to the PC via USB.
Step 2a
If you see the following screen you may not be connected to the internet, or have a firewall that blocks 1 or more of these websites.
Select “ Continue ” on the next screen for wiTECH 2.0 Device Setup and Configuration.
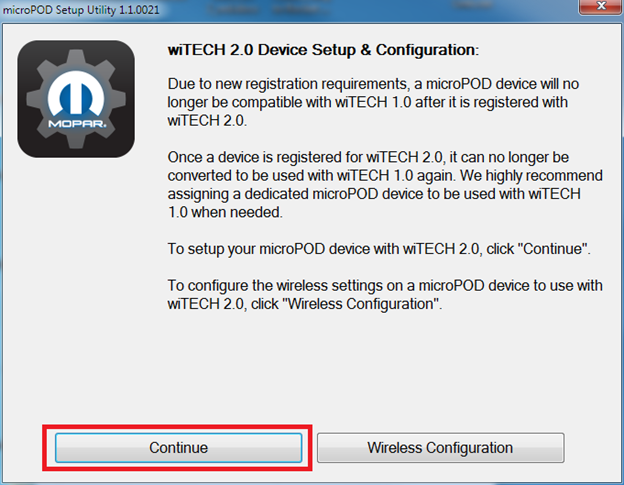
NOTE: If you only want to configure the wireless setting on a VCI device to use with wiTECH 2.0, click “Wireless Configuration” and follow instructions.
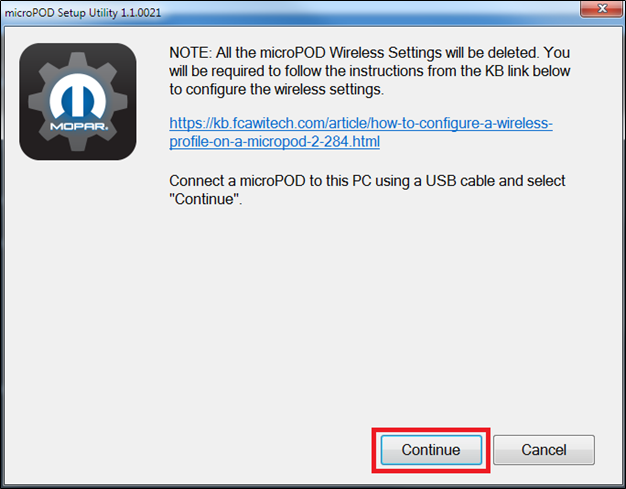
Select “ Continue ” on the next screen to begin attempting to connect to the VCI device.
Step 3
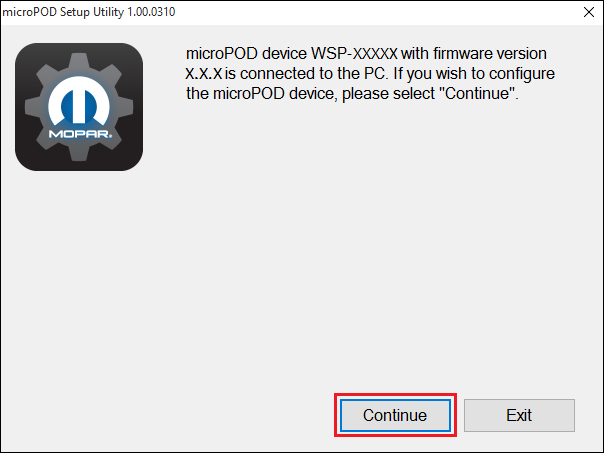
Once your VCI is recognized by the utility, select “Continue” to proceed with the configuration.
NOTE: microPODs with a serial number beginning with “WFP” should NOT be used with this utility.
Step 3a
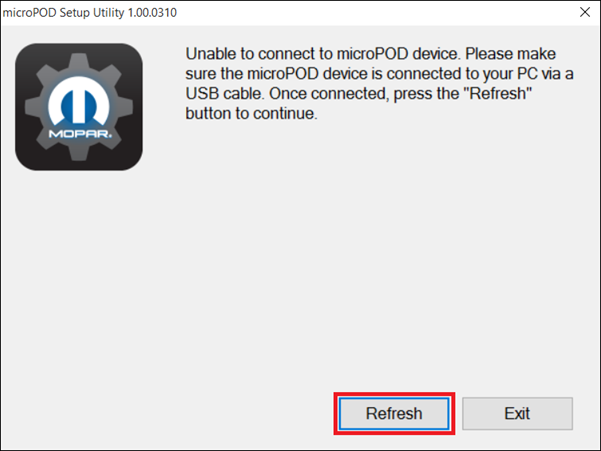
If the utility does not find the VCI device, please assure that the VCI is connected via USB and click “Refresh”.
Step 5
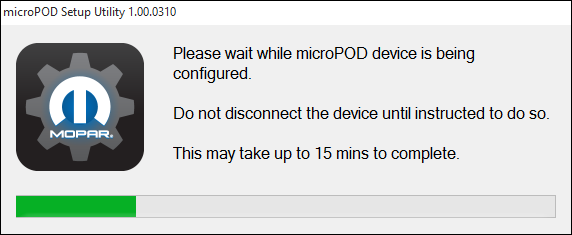
The following screen will appear for up to 15 minutes while the VCI device is being configured.
Step 6
The following screen will appear when the utility completed the configuration of VCI for wiTECH 2.0 Application.
Note: After VCI Setup Utility is ran, all existing wireless networks will be removed from the VCI.
Important! Leave the VCI Setup Utility window running as you will be required to complete software updates to the VCI device before configuring the wireless.
Step 6a
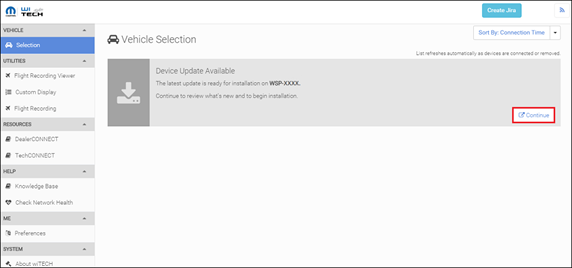
Login into wiTECH 2.0 with SID that has been assigned to the VCI at https://login.n.fcawitech.com . The VCI that was just configured using the VCI Setup Utility should appear in the wiTECH 2.0 discovery. You will need to update the operating system of your VCI before it can be used with wiTECH 2.0. Click “Continue”, and your web browser will redirect you to the page to download and install the operating system update as seen in the following step.
*NOTE: If VCI does not show up in discovery after a couple of minutes please power cycle your VCI by unplugging it and plugging it back in.
Step 7
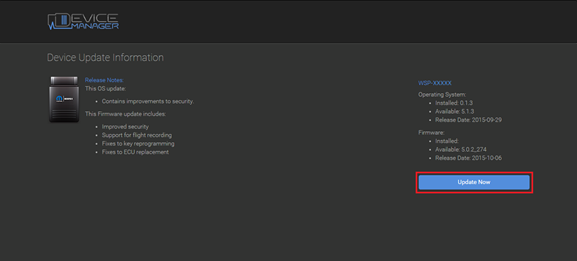
Click “Update Now” and your VCI should continue to the update screen. Once updating, do not interrupt your VCI at any point until the update is complete.
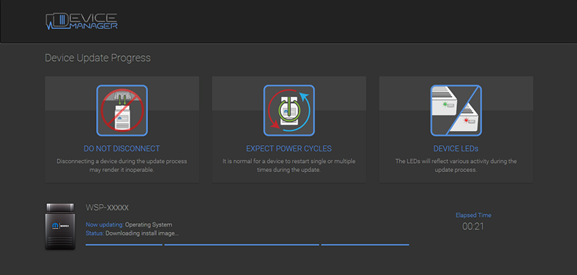
*NOTE: This can take upwards of 9 minutes. It is normal activity for the VCI to reboot.
Step 8
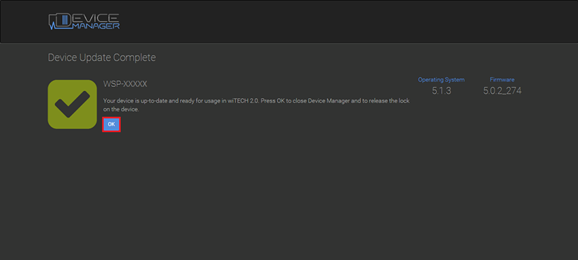
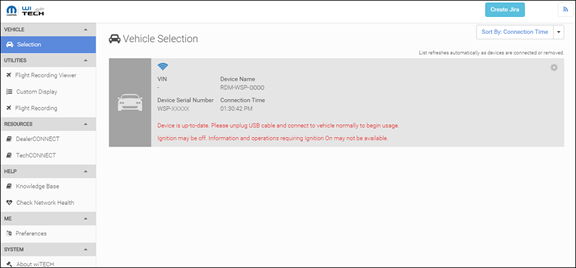
Click “OK” and you will be navigated back to the wiTECH 2.0 discovery page. Your VCI should appear updated and ready for use.
DO NOT UNPLUG USB cable from the pod until the WiFi is configured successfully first.
Step 9
With the VCI Setup Utility still running, please follow the KB link listed below to configure wireless on the VCI device.
Leave a Reply