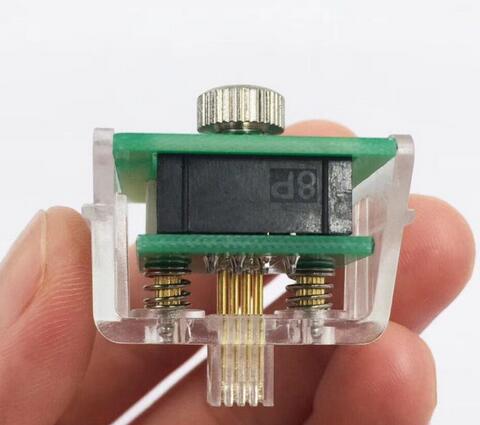
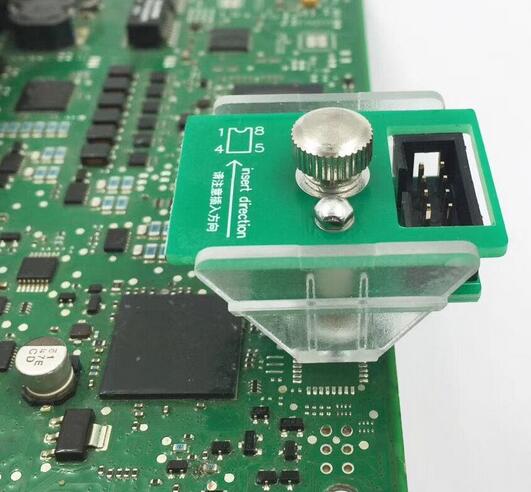
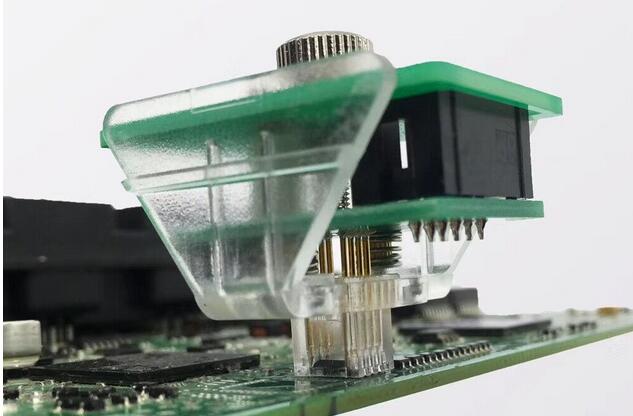
Yanhua Mini ACDP package updated one new 8p clamp for free since May, 2019. With this long clip, the user is easy to observe and prevents the embedded chip from shaking. Also it adds one finger handle which is easy to hold and keep balance.
Attach several images of new 8p clamp photos taken from various angles:

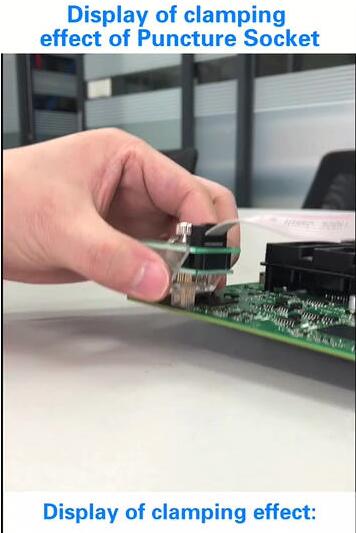
The procedure of Yanhua Mini ACDP Key Programmer 8p clamp installation:
1.Install 8pin cable
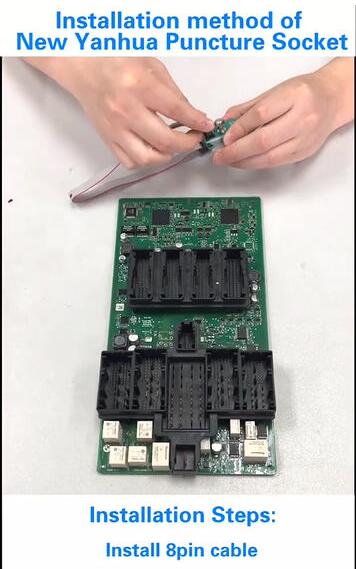
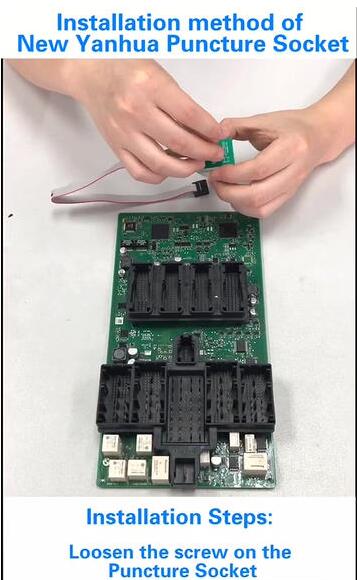
2.Loosen the screw on the puncture socket.
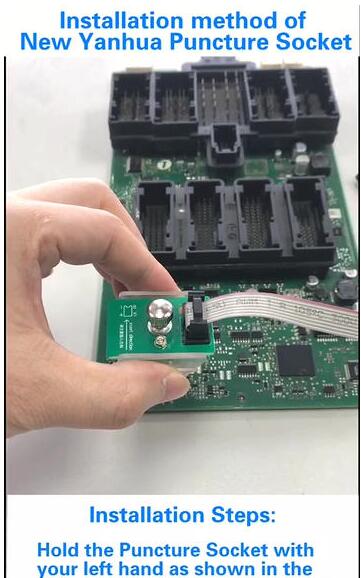
3.Hold the new puncture socket.
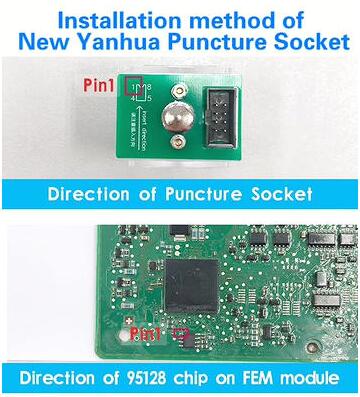
4.Check the direction of puncture socket and chip.

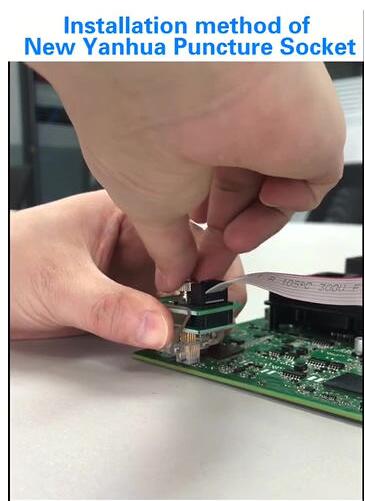
5.Press down the puncture socket until it fully connect with the PCB board.

6.Press down the puncture socket and tighten the screw on the puncture socket.
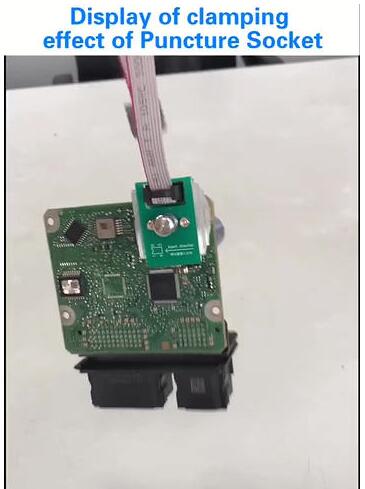
7.The FEM/BDC PCB board can be lift up after the puncture socket is completely installed.
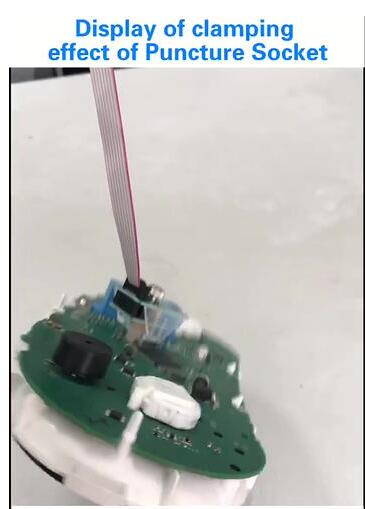
The airbag module PCB board can be lift up after the puncture socket is completely installed.
The odometer PCB board can be lift up after the puncture socket is completely installed.
Leave a Reply