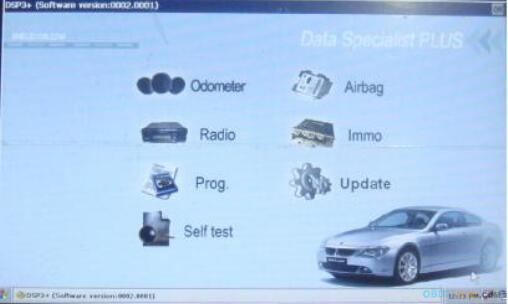
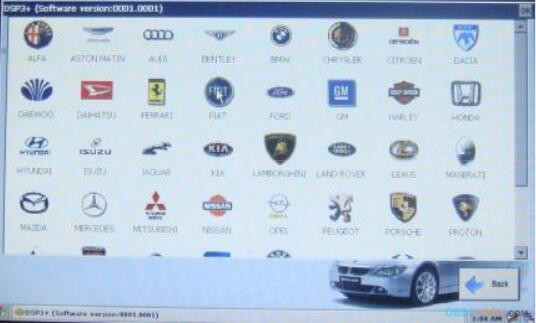
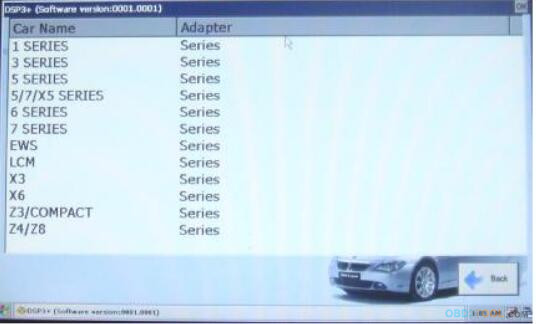
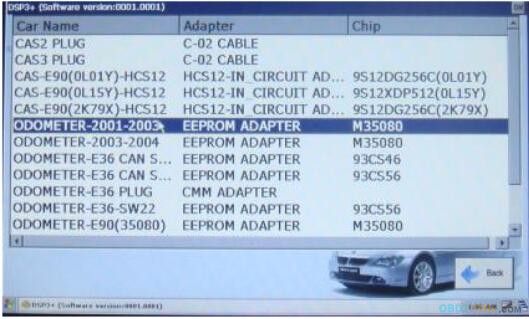
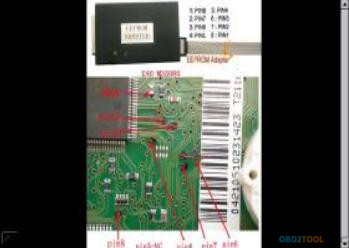
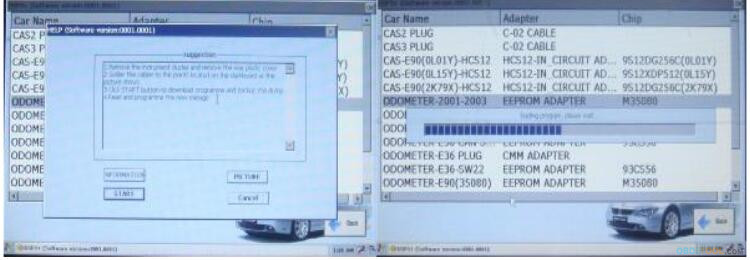
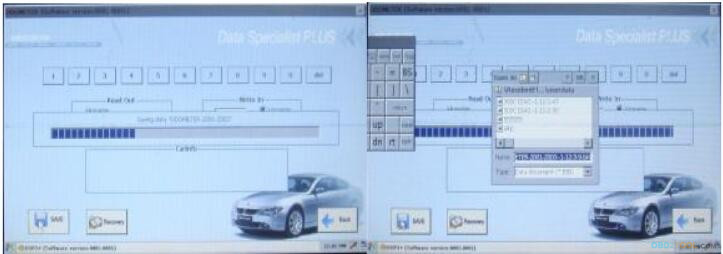
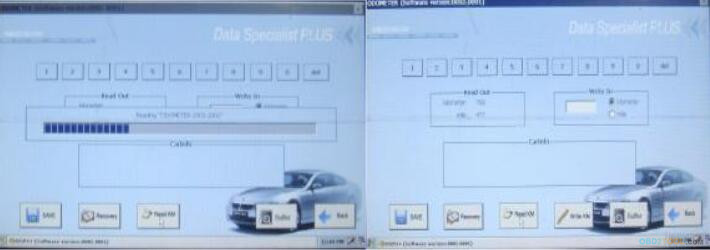
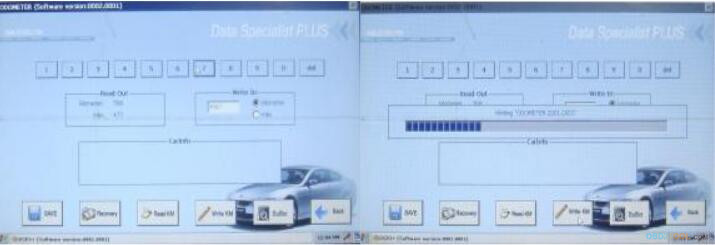
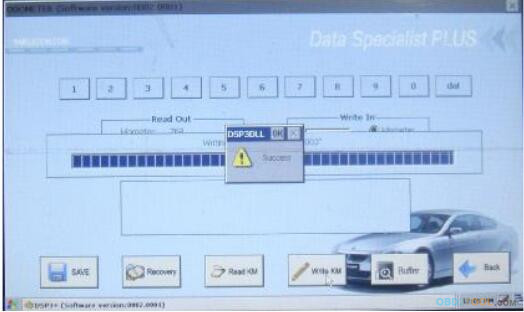
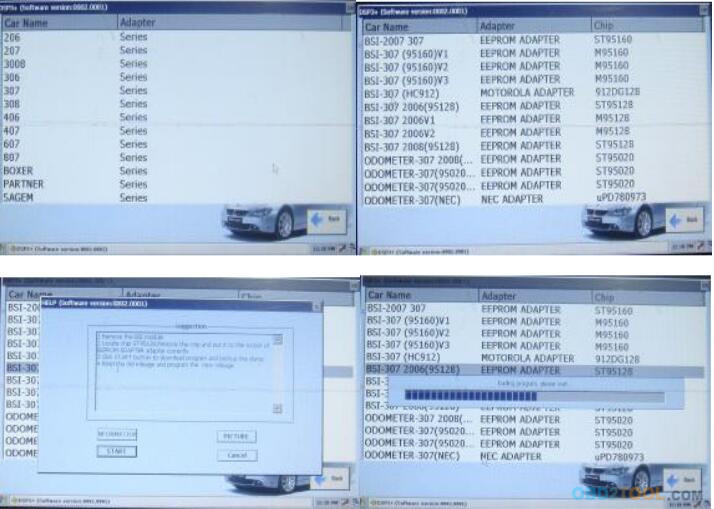
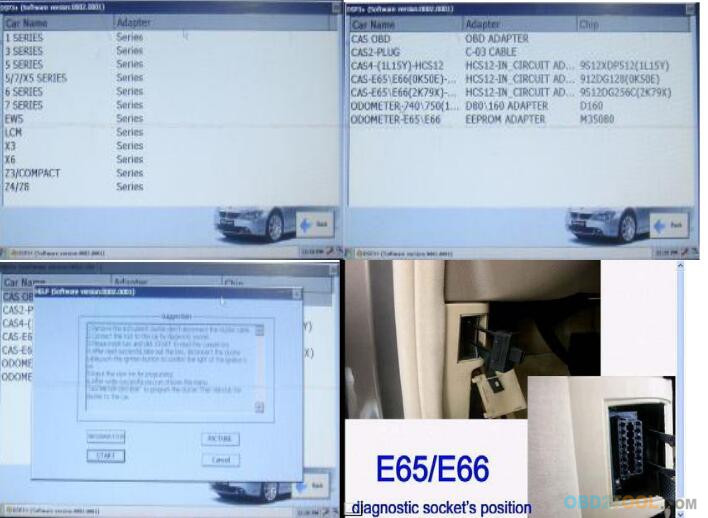
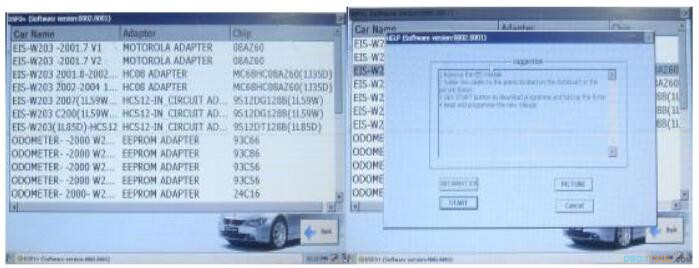
Connect the DSP3 Odometer Correction OBD Tool or other adapter with your host at first, then power on the system, software will be opened. Click the ‘ODOMETER’ button on the main window, you will see the make list window, select make such as ‘BMW’ and double click, model list window appears as Figure, double click on a model such as ‘3 SERIES 2001-2003’, you will see the help window as Figure, click‘ Picture’, you can see a color picture which show you how to connect a proper adapter to the target odometer pcb; after connecting the proper adapter with the target odometer pcb as picture, power off, then plug the proper adapter into the main hardware by the Adapter-Socket. At next click ‘OK’ button, the odometer adjustment window appears as Figure 5.6, click ‘SAVE’ button to read and save current data, see Figure5.7, then click ‘Read KM’ to read current km, then input new km at the window see Figure 5.8 and 5.9,click ‘Write KM’ to write new km to the target dashboard.
Notes: BSI correction. Before correction of some odometers, you have to reset BSI module first, such as ‘peugeot 307’,you should select ‘BSI’ and reset the km to zero, then adjust the km of odometer.
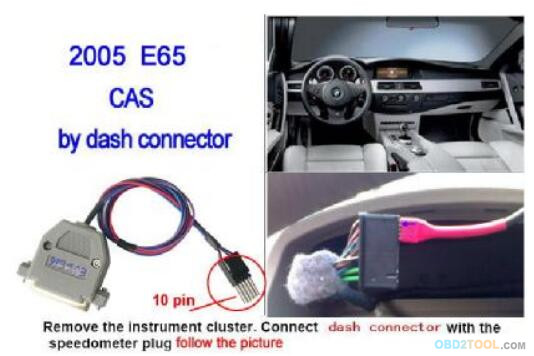
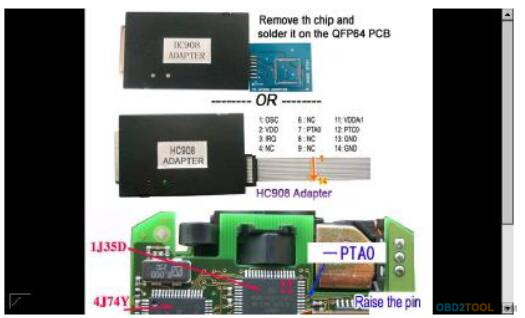
LCM/ EWS/ CAS unit correction. Before correction of some BMW odometers you have to reset the km in LCM/ EWS/ CAS module first, this operation is similar to Mileage Correction.
EZS correction. Before correction of some BENZ odometers you have to reset the km in EZS module first, this operation is similar to odometer adjustment.
Leave a Reply